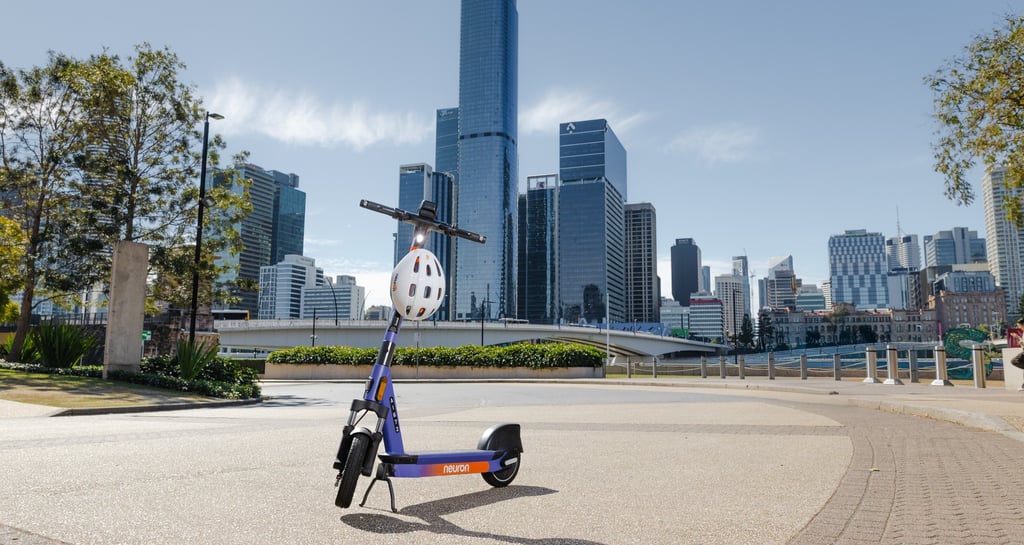
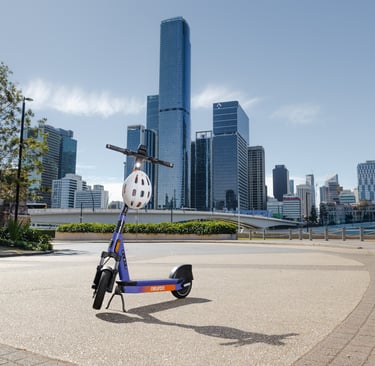
Capturing Ride Neuron Mobility Scooters: A Short Guide to Shooting Commercial Photography
Take a look at our recent photoshoot with Neuron Mobility Scooters
8/4/20251 min read
Pre-Shoot Planning for Optimal Conditions
Effective commercial photography, especially for Ride Neuron Mobility Scooters, requires thorough pre-shoot planning, considering timing, location, and environmental factors. The golden hour offers soft, warm lighting for mobility shots, while mid-day can create harsh shadows. Because the shoot was from 12-4pm, there was no golden hour and we had to adjust to the weather conditions.
Being prepared for challenges like weather shifts or access issues is vital, including having backup plans and equipment.
Gear Essentials: Tools for Success
Selecting the right gear for shooting Ride Neuron is crucial. A Circular Polarizer (CPL) filter minimizes unwanted reflections, enhancing colors. An external flash combats harsh shadows in bright conditions, ensuring balanced lighting.
For the lenses, two lenses were used to capture a wide and a portrait style effect. The first lense is the wide angle sigma 24-35mm f2 lens. The second lens that was used for the portrait look is the canon ef 85mm f1.4 lens.
Executing the Shoot: Techniques and Composition
During the Ride Neuron shoot, majority of the photos used external flash. The flash was positioned to the darker side of the scooter or the model to create a fuller image.
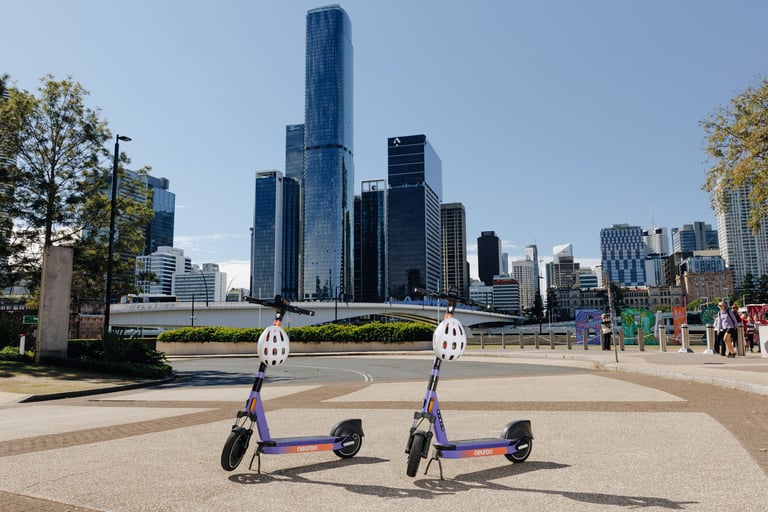
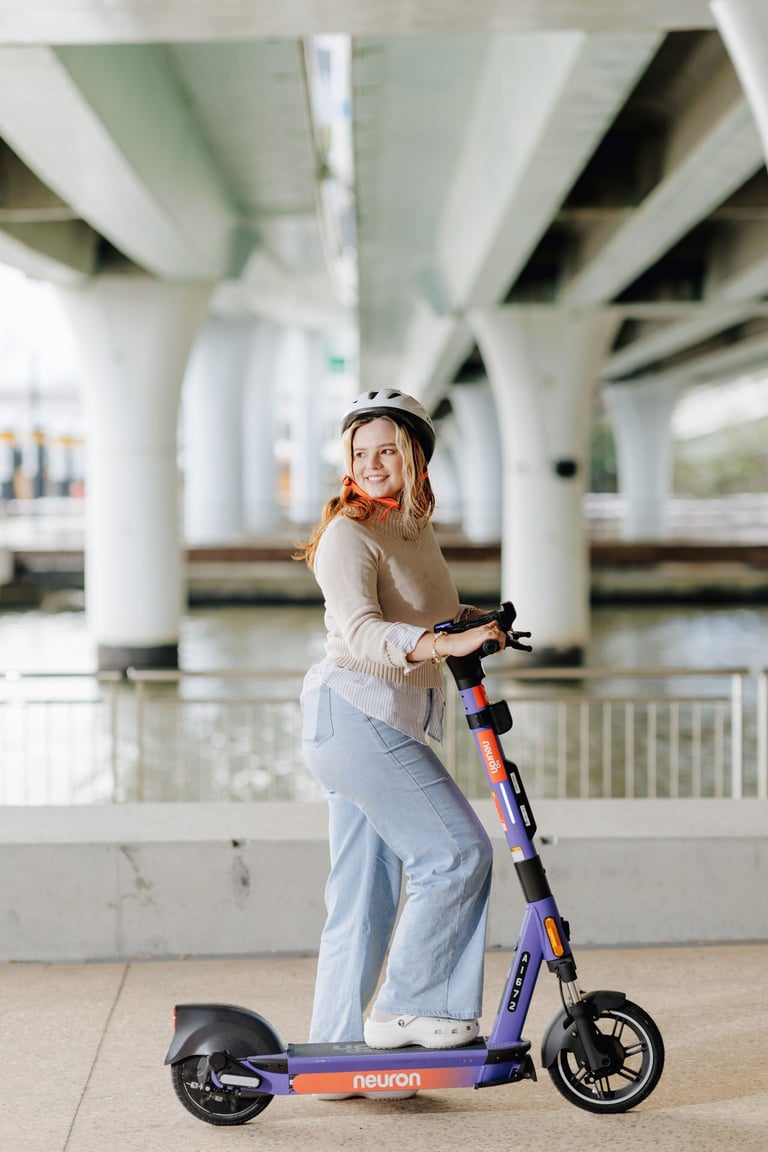
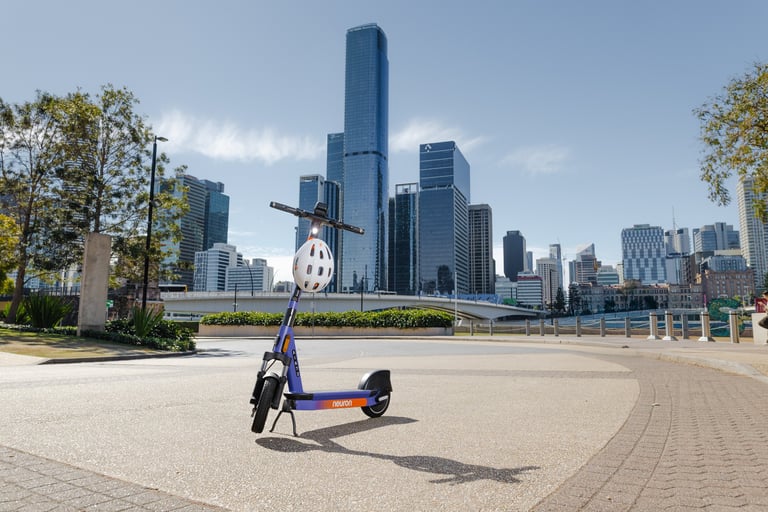
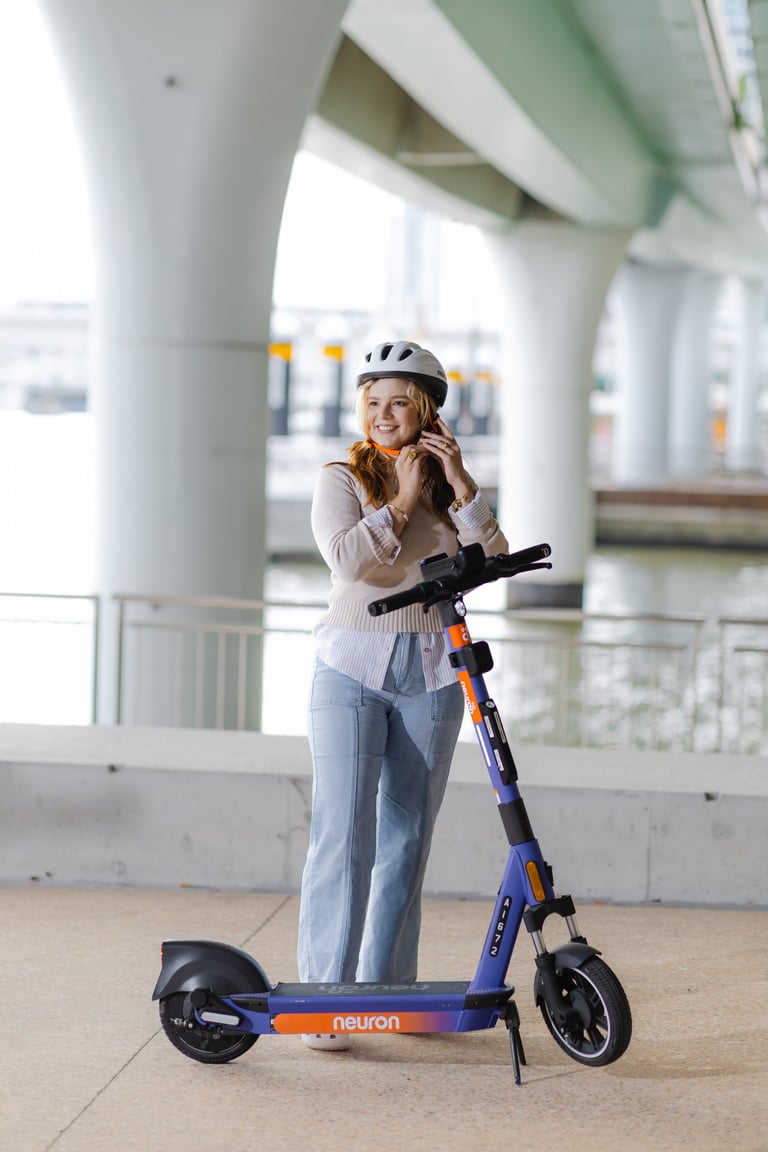
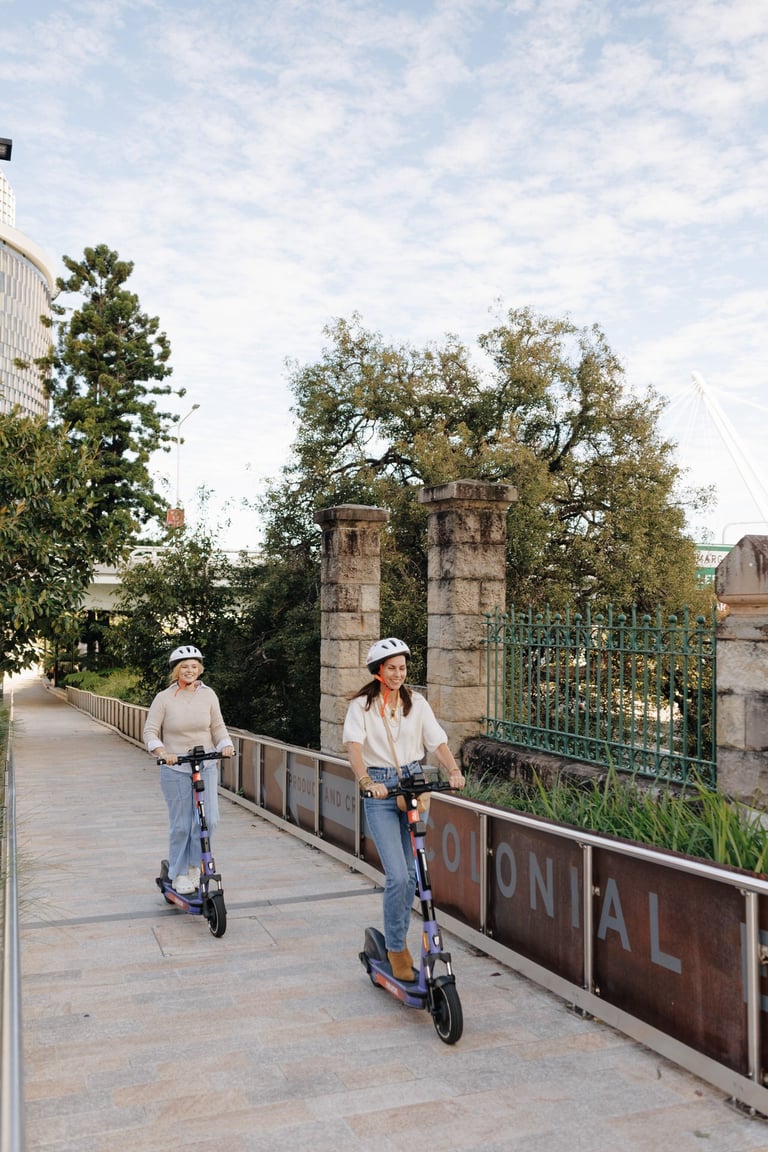
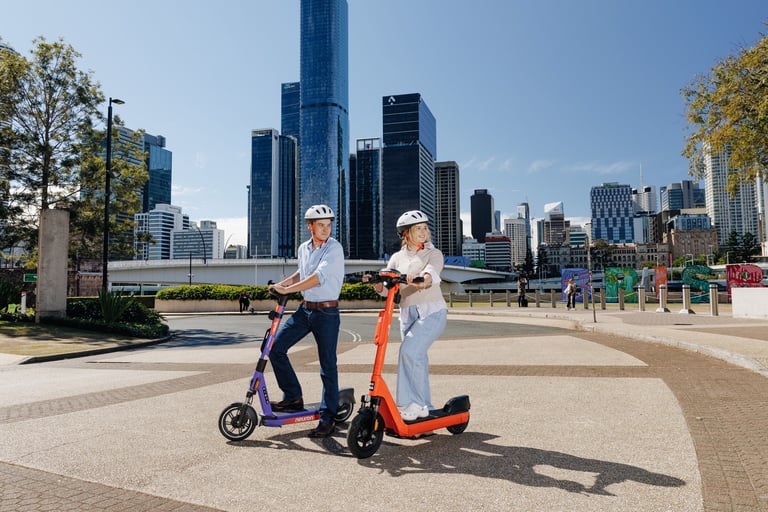
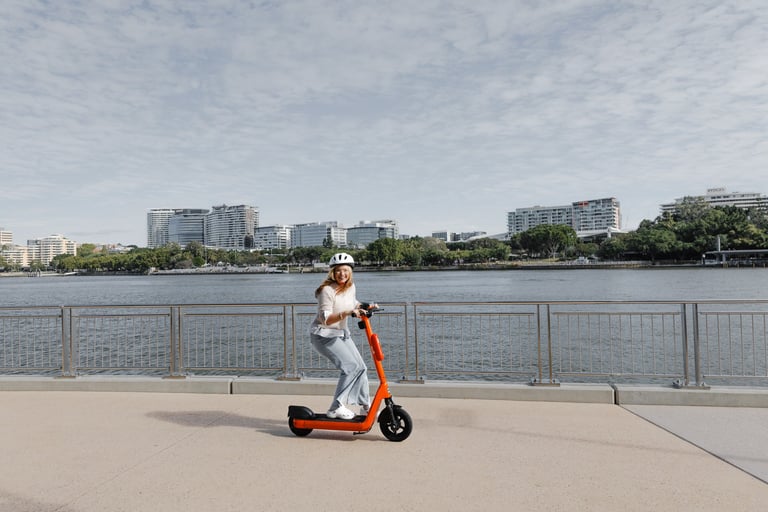
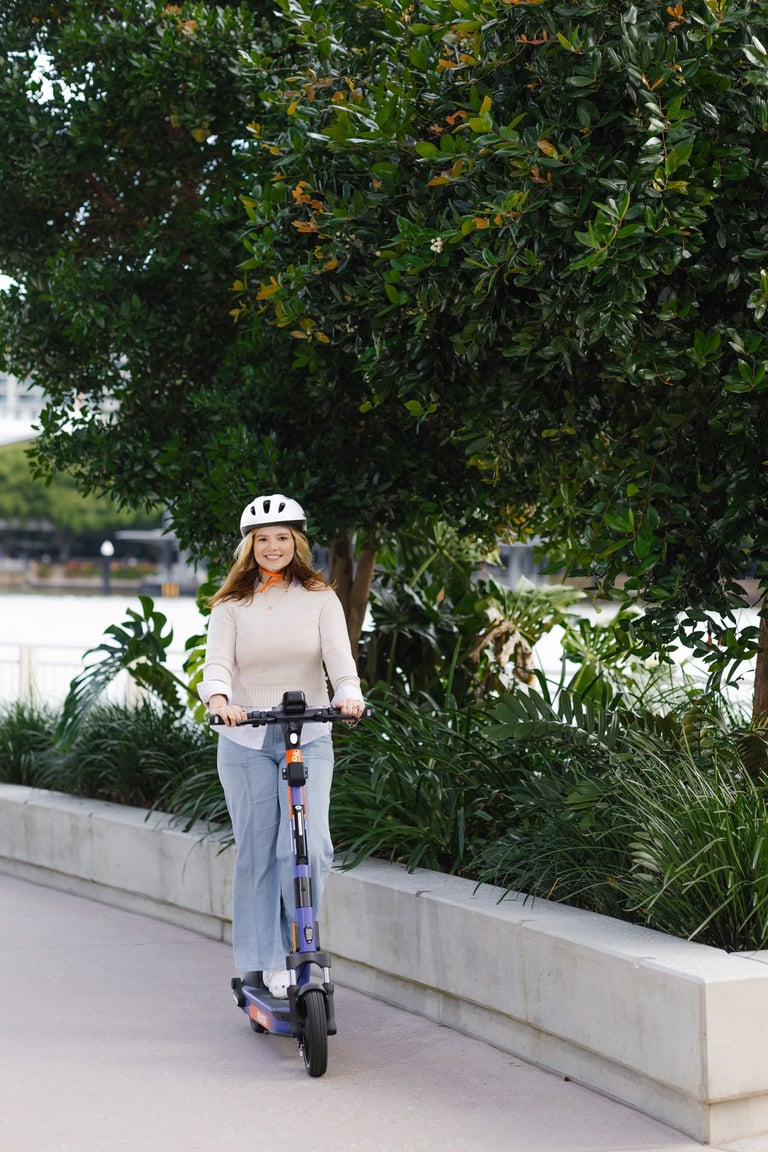
Ride Neuron Scooter Gallery
Selected gallery for the Ride Neuron Shoot in Brisbane, Australia